How to Make a DIY Toner That Will Change Your Skincare Game!
The Benefits of Using a DIY Toner
When you incorporate a DIY toner into your skincare routine, you’ll unlock a range of benefits tailored to your skin’s unique needs.
A DIY skincare toner helps balance your skin’s pH, ensuring it feels refreshed and healthy. You’ll notice improved hydration, which can lead to a radiant glow.
Plus, using natural ingredients means you can avoid harsh chemicals, fostering a sense of community among fellow skincare enthusiasts.
Crafting your own toner also allows you to express your creativity and individuality. Embrace this journey, and you’ll not only enhance your skin but also connect with others who share your passion for personalized skincare.
Essential Ingredients for Your Homemade Toner
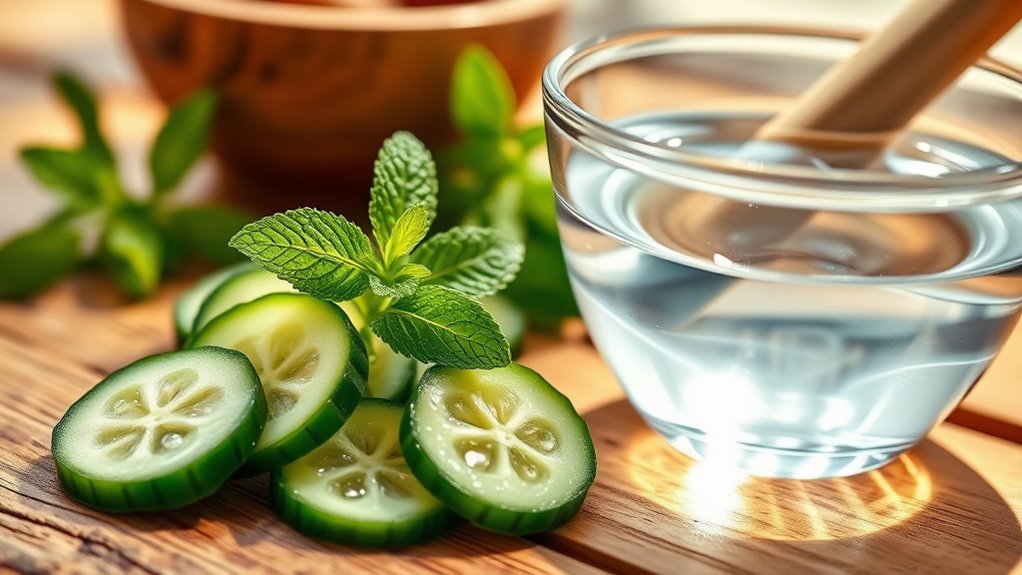
Creating your own toner can be a rewarding experience, especially when you know which essential ingredients to include.
These components not only enhance your toner but also create a sense of community in your skincare routine.
Here are five must-have ingredients:
-
Witch Hazel: A natural astringent that tightens pores.
-
Apple Cider Vinegar: Balances skin pH and adds shine.
-
Green Tea: Rich in antioxidants, it soothes and protects.
-
Aloe Vera: Hydrates and calms irritation.
-
Essential Oils: Customize your scent and benefits with oils like lavender or tea tree.
Feel free to experiment and find what works best for you!
Step-by-Step Instructions for Mixing Your Toner
Mixing your own toner is a straightforward process that can be done in just five simple steps.
First, gather your essential ingredients—like witch hazel or rose water.
Second, measure out one part of your chosen base.
Third, add a splash of your favorite essential oil for extra benefits.
Fourth, mix in a few drops of vitamin E oil to nourish your skin.
Finally, pour everything into a clean spray bottle, shake it up, and voilà!
You’ve created a toner tailored just for you. Enjoy this personalized touch in your skincare routine, and watch your skin thrive!
Tips for Proper Application of Your Toner
Applying toner correctly can make a significant difference in your skincare routine. To maximize its benefits, follow these tips:
-
Use clean hands or a cotton pad to avoid transferring bacteria.
-
Apply toner after cleansing to remove any leftover impurities.
-
Don’t rush the process; let it absorb before layering other products.
-
Target specific areas by dabbing toner on blemishes or dry patches.
-
Be gentle; avoid rubbing, and treat your skin with care.
These simple steps help create a refreshing experience and keep your skin happy.
Enjoy the journey of nurturing your skin with your DIY toner!
Storage and Shelf Life of Your DIY Toner
While your DIY toner can be a refreshing addition to your skincare routine, proper storage is essential to maintain its effectiveness. Keep it in a cool, dark place, away from direct sunlight. Using a clean, airtight container will help prevent contamination. Typically, your toner will last about 1 to 2 weeks, depending on its ingredients. Here’s a quick guide to help you:
| Storage Method | Shelf Life | Tips |
|---|---|---|
| Refrigerator | 1-2 weeks | Best for preserving freshness |
| Dark Cabinet | 1 week | Avoid humidity exposure |
| Airtight Bottle | 2 weeks | Use clean utensils when applying |