A Simple Mask Recipe That Helped Even My Skin Tone
Did you know that nearly 90% of people experience some form of uneven skin tone? It can be frustrating, especially when it manifests as dark spots or patches. Fortunately, there’s a simple DIY mask that can help you achieve a more balanced complexion. By combining natural ingredients, you can create a treatment that not only targets these imperfections but leaves your skin feeling refreshed. Curious about how to make it and the specific benefits of each ingredient?
Understanding Skin Tone and Dark Spots
When it comes to achieving a flawless complexion, understanding your skin tone and dark spots is essential.
Recognizing your unique undertones helps you choose the right DIY mask for dark spots. These masks can be tailored with natural ingredients to target pigmentation and even out your skin tone. Incorporating daily sunscreen usage into your routine can further protect against sun exposure that triggers melanin production.
Embrace your complexion and start exploring effective solutions tailored just for you.
Key Ingredients for the Mask
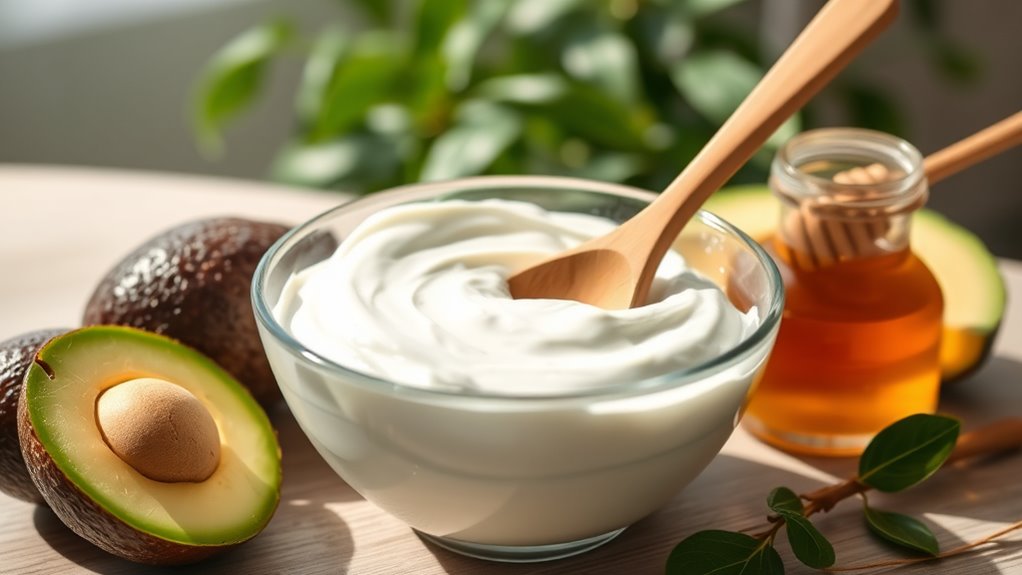
To create an effective mask for evening out your skin tone, incorporating the right key ingredients is crucial. These ingredients work together to nourish and brighten your complexion, giving you that radiant glow you desire. Look for:
- Brightening lemon juice
- Soothing aloe vera
- Hydrating honey
- Exfoliating yogurt
Adding anti-inflammatory ingredients, such as aloe vera, can significantly enhance the mask’s effectiveness in reducing pigmentation! These elements not only enhance your skin’s appearance but also boost your confidence!
Step-by-Step Recipe
Creating your own mask for an even skin tone is easier than you might think, and with just four simple steps, you’ll be on your way to radiant skin.
First, mix your key ingredients in a bowl.
Next, stir until smooth.
Then, transfer the mixture to a clean container.
Finally, ensure you have everything ready for the application. Remember, regular exfoliation promotes cell turnover, and your glowing skin awaits!
Application Process
With your mask mixture ready, it’s time to focus on the application process for maximum effectiveness.
Gently smooth the mask over your clean, dry skin, taking care to:
- Embrace the soothing sensation as it spreads
- Concentrate on areas needing extra love
- Avoid your eyes and mouth for comfort
- Allow yourself a moment of self-care and relaxation
Additionally, applying a toner after masking can balance skin’s pH and enhance overall results. Enjoy watching your skin transform!
Tips for Best Results
Here are some tips to enhance your results:
| Tip | Benefit |
|---|---|
| Use on clean skin | Ensures better absorption |
| Leave on for 20 min | Maximizes effectiveness |
| Follow with moisturizer | Locks in hydration |
| Repeat weekly | Maintains balanced complexion |
Follow these suggestions, and you’ll notice a remarkable difference in your skin’s appearance! Remember, applying a moisturizer with hyaluronic acid after the mask can further enhance hydration and improve overall skin tone.
Additional Skin Care Routine Recommendations
To achieve an even skin tone, it’s essential to complement your mask with a well-rounded skincare routine.
Follow these simple recommendations to boost your results:
-
Cleanse daily to remove impurities and prepare your skin.
-
Exfoliate weekly to slough off dead skin cells for radiance.
-
Moisturize regularly to keep your skin hydrated and supple.
-
Sunscreen application protects against harmful UV rays.
Incorporating daily cleansing into your routine also promotes healthy circulation and enhances product absorption.
Your skin deserves it!