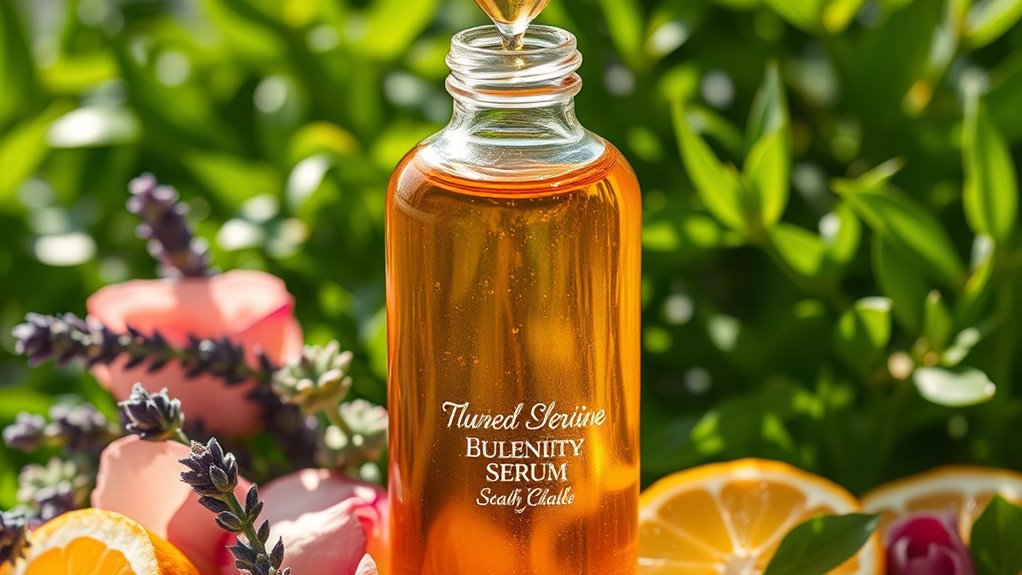
The DIY Anti-Aging Serum That’s Going Viral
Have you noticed a buzz about a DIY anti-aging serum that’s taking the skincare community by storm? This serum combines natural ingredients like aloe vera, vitamin E, and essential oils for a refreshing change from commercial products. Users report visible improvements in their skin’s texture and hydration, leading to renewed confidence. Curious about how you can make your own and unlock these benefits? Let’s explore the key ingredients and a simple recipe that could transform your skincare routine.
The Benefits of DIY Anti-Aging Serums
When you create your own anti-aging serum, you not only gain control over the ingredients but also tailor the formula to your specific skin needs.
An anti-aging DIY serum can save you money while avoiding harmful chemicals often found in commercial products.
Plus, the satisfaction of mastering your skincare routine empowers you to embrace your natural beauty confidently. Natural ingredients can help you achieve a radiant glow and improve the overall health of your skin.
Why not give it a try?
Key Ingredients for Your Serum
Creating a potent anti-aging serum starts with selecting the right ingredients that work harmoniously with your skin.
Look for antioxidants like vitamin C to brighten and protect, hyaluronic acid for intense hydration, and retinol to boost cell turnover. Retinol is considered one of the top anti-aging ingredients as it not only combats fine lines but also enhances your skin’s overall texture.
Choose wisely, and your serum will truly deliver results!
Step-by-Step Recipe for the Serum
With the right ingredients in hand, you’re ready to whip up your very own anti-aging serum.
Start by mixing two tablespoons of aloe vera gel, one tablespoon of vitamin E oil, and a few drops of essential oils like lavender or rosehip in a clean glass container. Aloe vera is known for its healing properties, making it a perfect addition to an anti-aging formula.
Stir well and transfer it to a dark bottle for storage.
Your rejuvenating serum is ready to use!
How to Use the Serum Effectively
To get the most out of your DIY anti-aging serum, apply it to freshly cleansed skin before your moisturizer. This enhances absorption, maximizing benefits. Use gentle, upward motions to apply. Follow these simple steps for effective use:
| Step | Action | Frequency |
|---|---|---|
| Cleanse | Wash your face | Daily |
| Apply Serum | Use a few drops | Twice daily |
| Moisturize | Seal in moisture | Twice daily |
| Enjoy | Observe results | Daily |
Incorporating this serum into your routine can be especially beneficial if you choose products that are free of harmful ingredients, ensuring a safer skincare experience.
Tips for Storing Your Homemade Serum
Proper storage of your homemade serum is crucial for maintaining its potency and effectiveness over time.
Keep your serum in a dark glass bottle to shield it from light, which can degrade its ingredients.
Store it in a cool, dry place, away from direct heat.
Always tighten the cap after use to prevent contamination and extend its shelf life. Additionally, applying your serum on a clean, damp face can maximize its effectiveness when you use it.
Happy blending!
User Testimonials and Before-and-After Results
Many users have reported remarkable transformations after incorporating the DIY anti-aging serum into their skincare routines.
From visibly reduced fine lines to improved skin texture, the before-and-after photos tell the story. Many rave about increased hydration and a youthful glow, making this serum a must-try. It’s important to remember that simplistic routines often yield better results than complex ones, emphasizing the value of foundational skincare.
You’ll be amazed at the results, so why not give it a go? Your skin deserves it!